
Optical measurement is a combination of optoelectronic technology and mechanical measurement. Using computer technology, you can achieve fast and accurate measurements, even non-contact measuring. The instrument is convenient for recording, storing, printing, querying and so on.
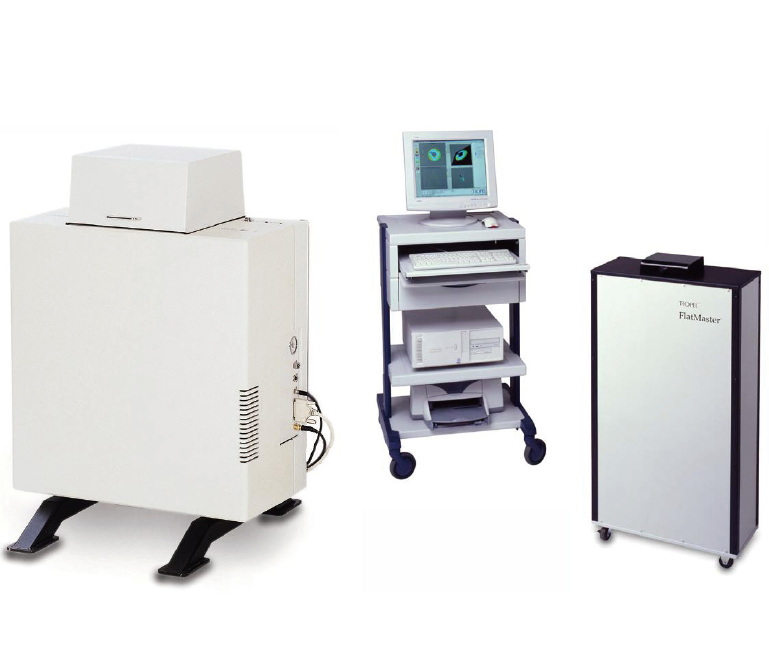
Flatness Measurement System
Originated in 1953, CORNING TROPEL is the industry leader in flatness measurement technology and has developed techniques for measuring large-size liquid crystal display (LCD) reticle. Corning equipment is capable of full surface flatness measurement with fast, repeatable and accurate characteristics to meet the new generation of flatness requirements.
more
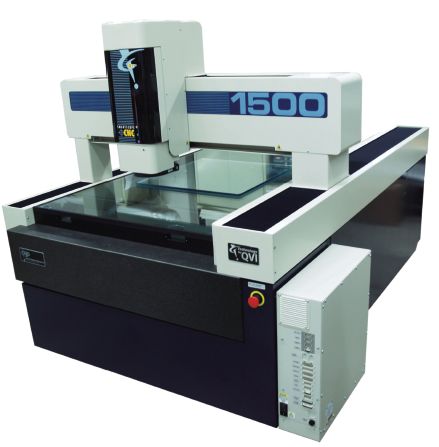
Image Measuring Instrument
The image measurement system is a non-contact measurement method that provides more detailed part data than a single point contact system.
more
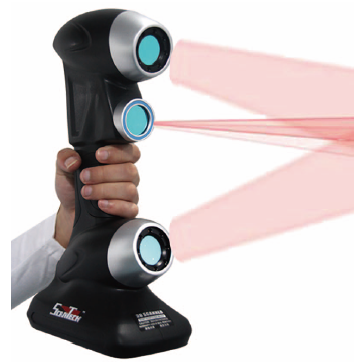
3D Scanner System
A 3D scanner is a scientific instrument used to detect and analyze the shape (geometry) and appearance data (such as color, surface albedo, etc.) of objects or environments in the real world. The collected data is often used to perform 3D reconstruction calculations to create a digital model of the actual object in the virtual world.
more
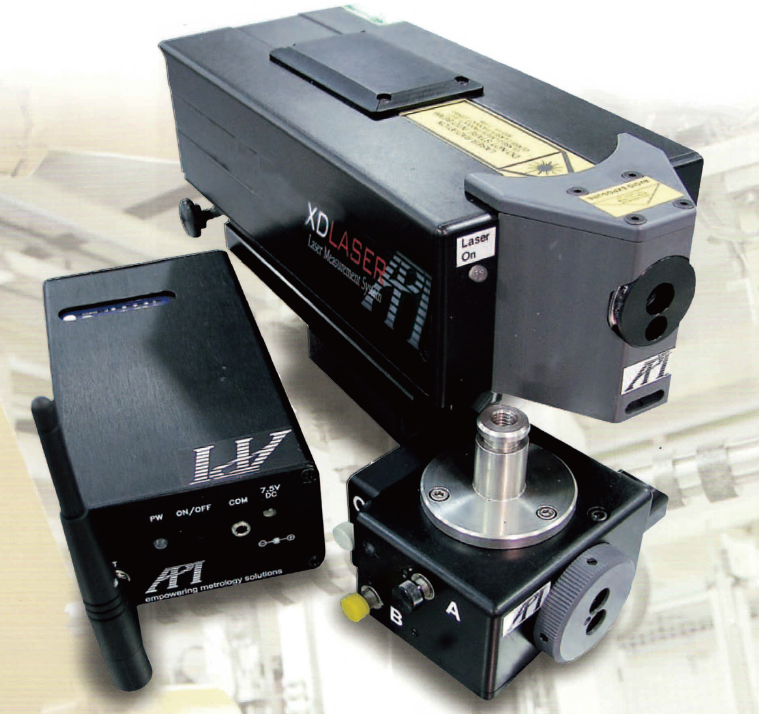
Laser Interferometer
The award-winning XD Laser is a multi-dimensional laser measurement system that simultaneously measures linear, angular, straightness and roll errors for rapid machine tool error assessment.
more
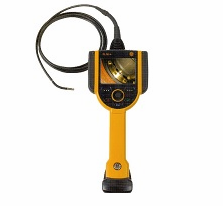
Industrial Video Endoscope
The lens cover of the industrial video endoscope is detachable; the TFT widescreen LCD monitor with 2 m cable can be moved; the 20 m test line, the digital recording function displays specific data on screen, the endoscope is equipped with two sets of batteries, power supply, and overall portable design of the system , all components are integrated in a rugged instrument case.
more
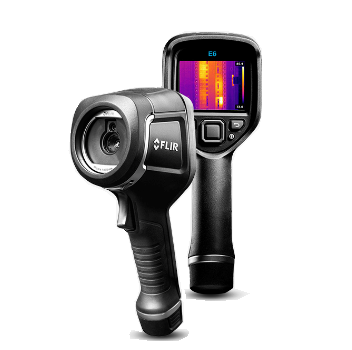
Infrared Imaging System
The thermal imager uses an infrared detector and an optical imaging objective to receive the infrared radiation energy distribution pattern of the target to be reflected on the photosensitive element of the infrared detector, thereby obtaining an infrared thermal image. This thermal image corresponds to the heat distribution field on the surface of the object.
more

311,Building 5,No.81,Meiyue Road,Waigaoqiao Free Trade Zone,Pudong,Shanghai,China
amy@labgages.com
021-50473900


About LAB | Cooperative Brand | Contact us | Sitemap

沪公网安备 31011502000213号

 沪ICP备12021537号-1
©2012-2024 LAB GAGES